Outil · IA
Herdr, the agentic terminal multiplexer
Having your development environment and all your AI agents in one place is possible. Today, let's talk about Herdr.
Introduction
Today, we are going to talk about Herdr, a terminal multiplexer designed specifically to make AI agents and sessions easier to access.
What is a terminal multiplexer?
The term “terminal multiplexer” may sound intimidating. In reality, the explanation is simple: a terminal multiplexer lets you create and manage different terminal sessions in a single window. There are others, such as tmux.
Why use a terminal multiplexer?
After all, why have several terminal sessions in the same window? For a developer, it is extremely useful. You can monitor and check different parts of a project simultaneously without juggling between windows.
A concrete example
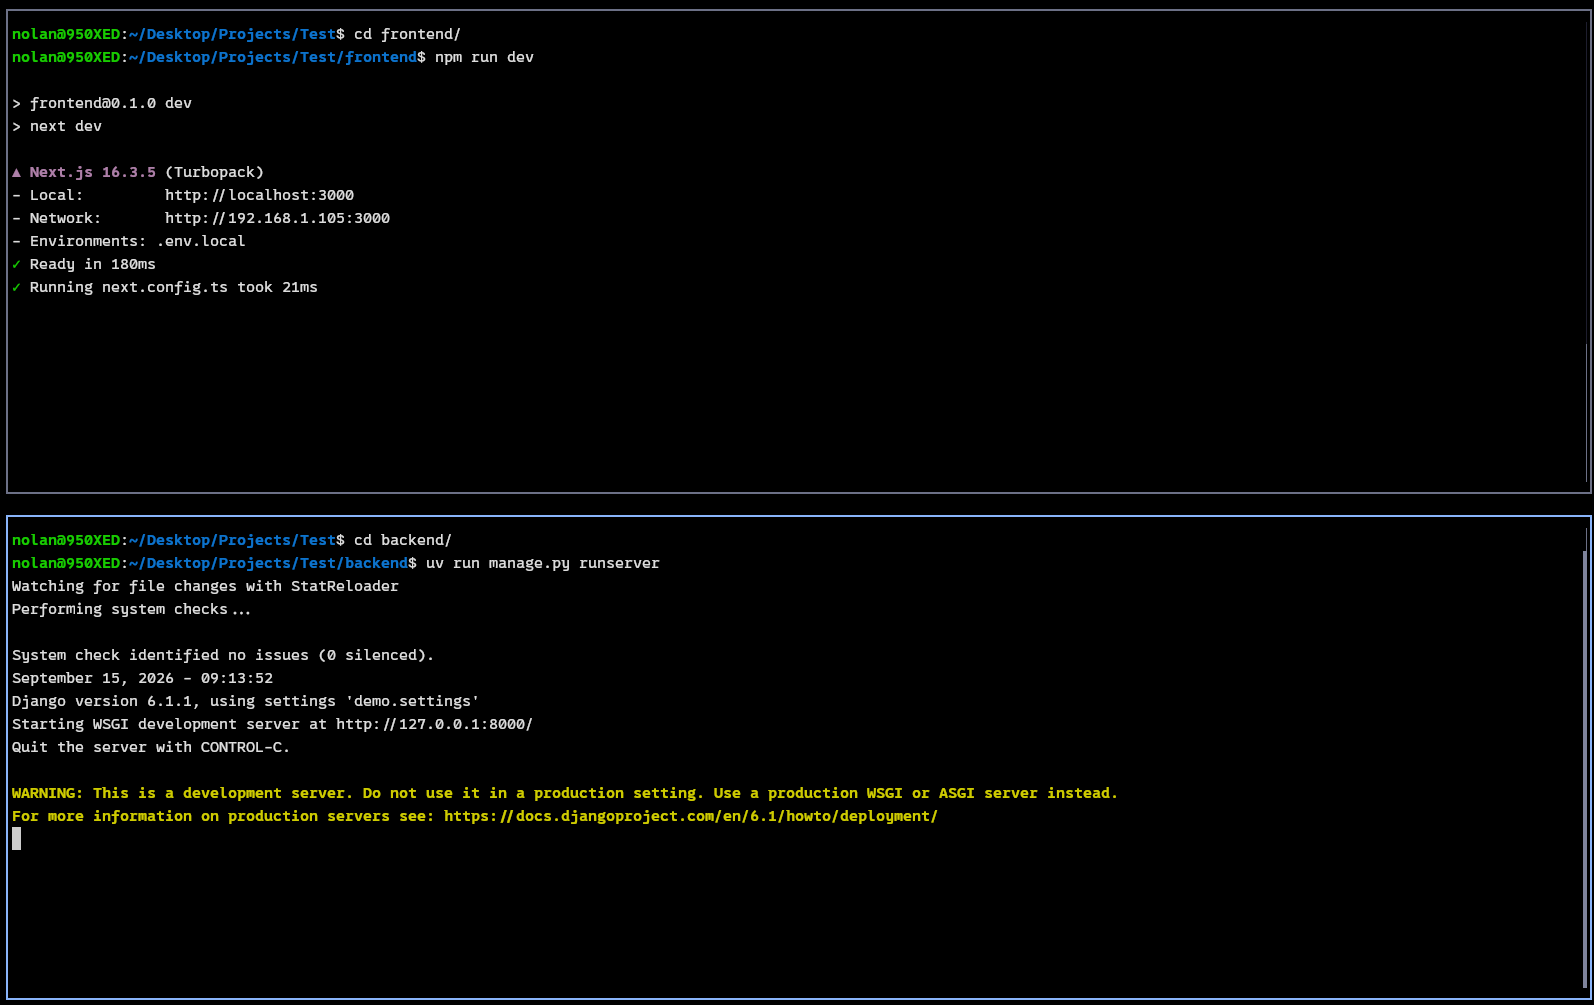
In this example, we have a project with a Django backend and a Next.js frontend. The project is simple: a review website.
Imagine I want to run the project: the multiplexer lets me quickly get a view of the backend and frontend development servers. Indeed, we split a pane in two to have the frontend on top and the backend at the bottom:
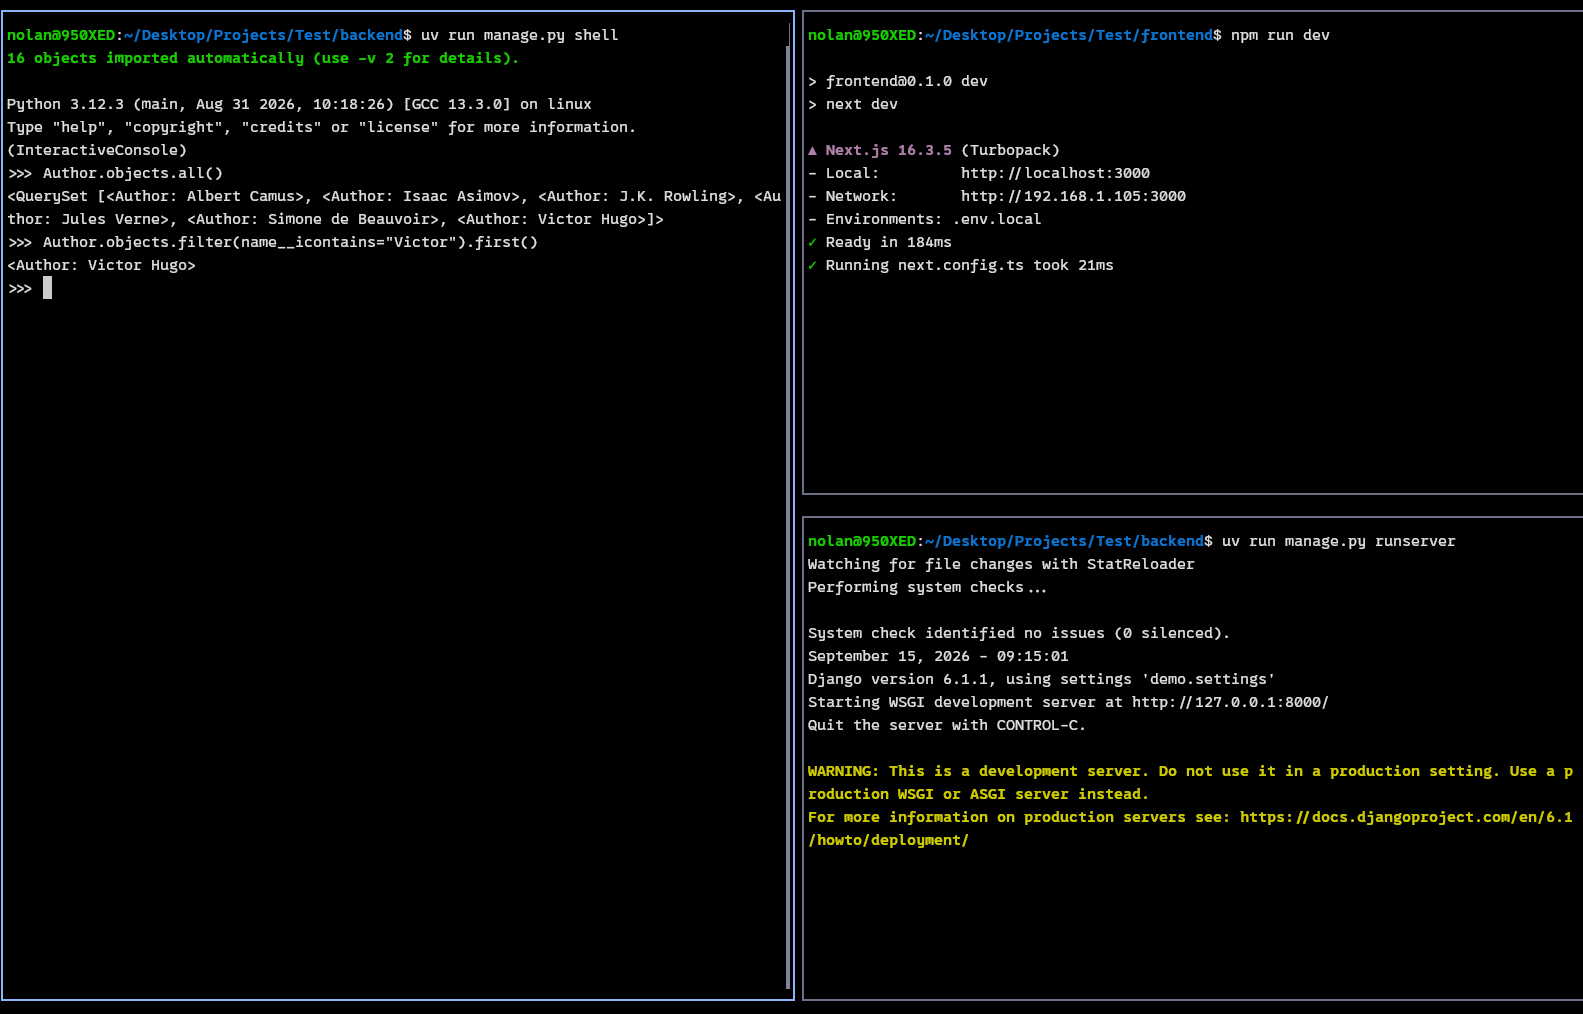
Now imagine we also want to create a Django shell to access our database live; we just split the pane vertically to get another terminal.
There are plenty of other interesting features in a multiplexer:
- Avoid losing an SSH session when you get disconnected
- Fast execution with keyboard shortcuts
Installing and testing Herdr
Herdr is available on Windows, macOS and Linux. Installation is relatively simple: once a terminal is open, enter the command:
# Linux and macOS
curl -fsSL https://herdr.dev/install.sh | sh

# Windows
powershell -ExecutionPolicy Bypass -c "irm https://herdr.dev/install.ps1 | iex"
And the installer does its job. It is recommended to close and open a new terminal afterwards to reload the bash/PowerShell configuration with an up-to-date PATH.
Herdr is a program that consumes little. The program is written in Go, so it is ultra fast, and the binary weighs barely 21 MB.

Getting started
To launch Herdr, type in the terminal:
herdrHerdr starts and you see the following screen:
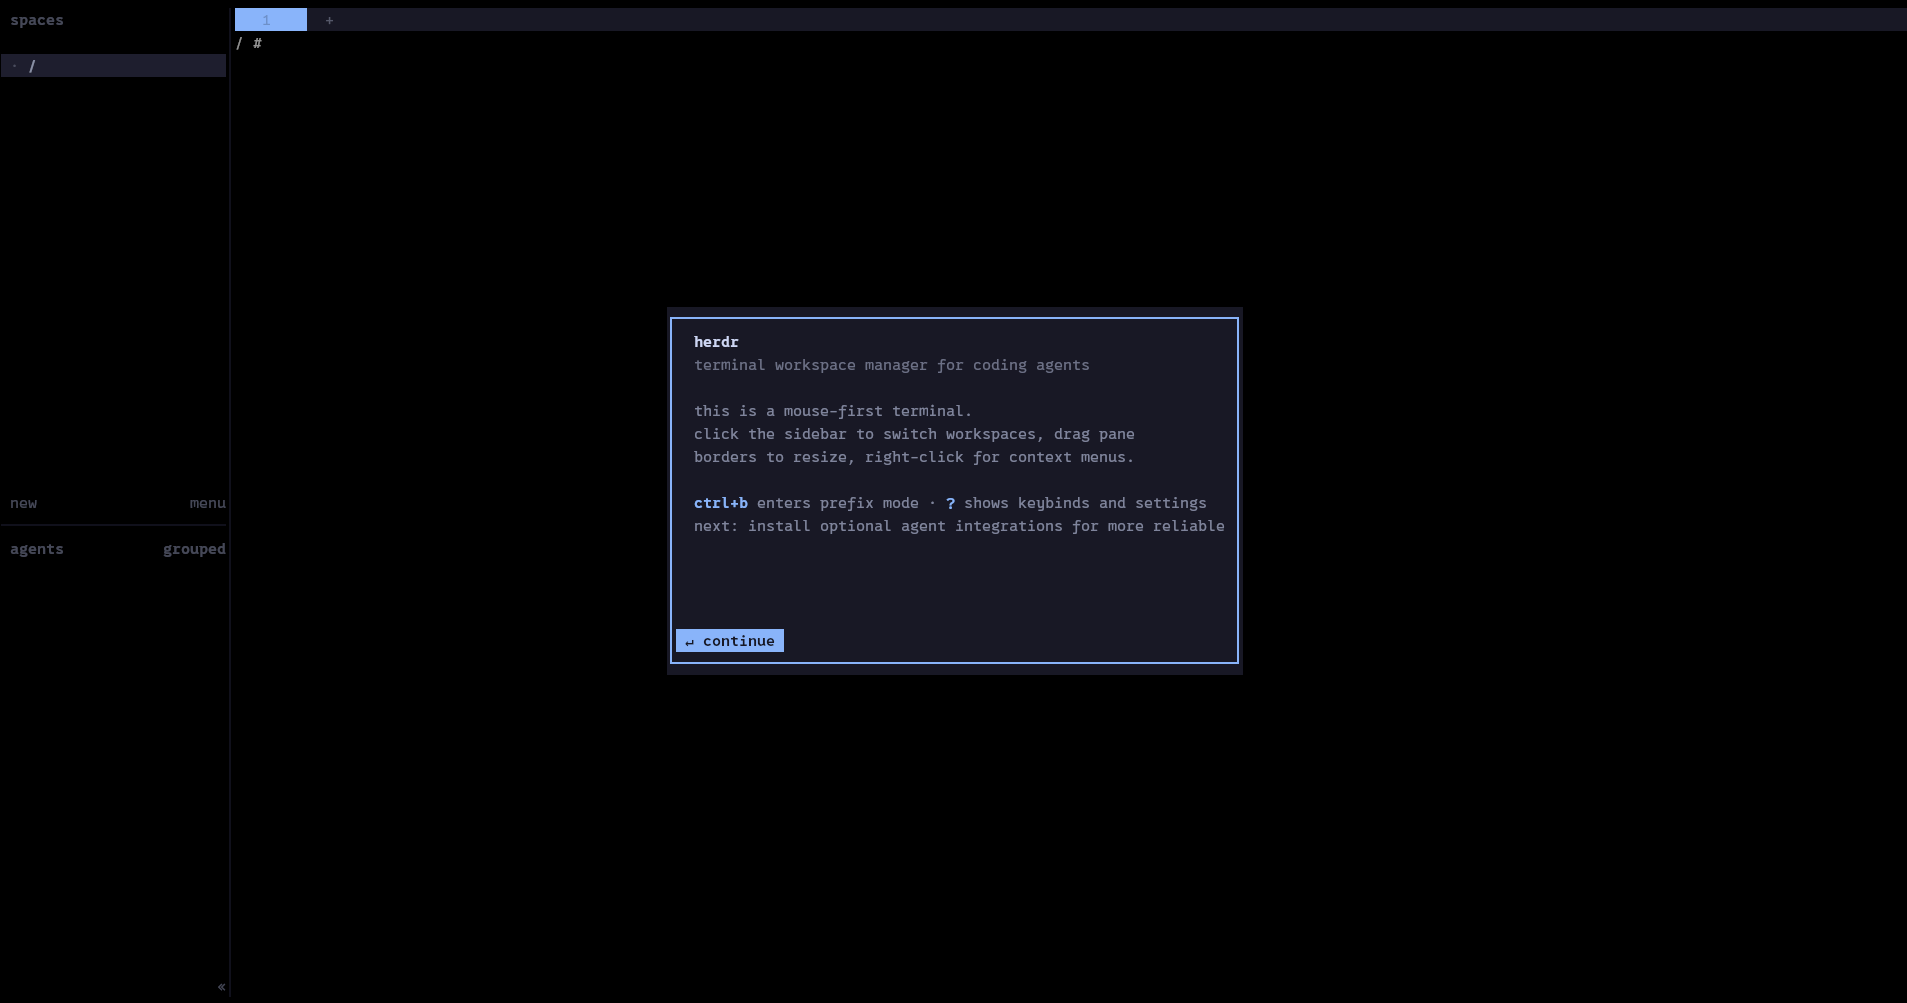
Once confirmed, you get Herdr’s general workspace.
Tool layout
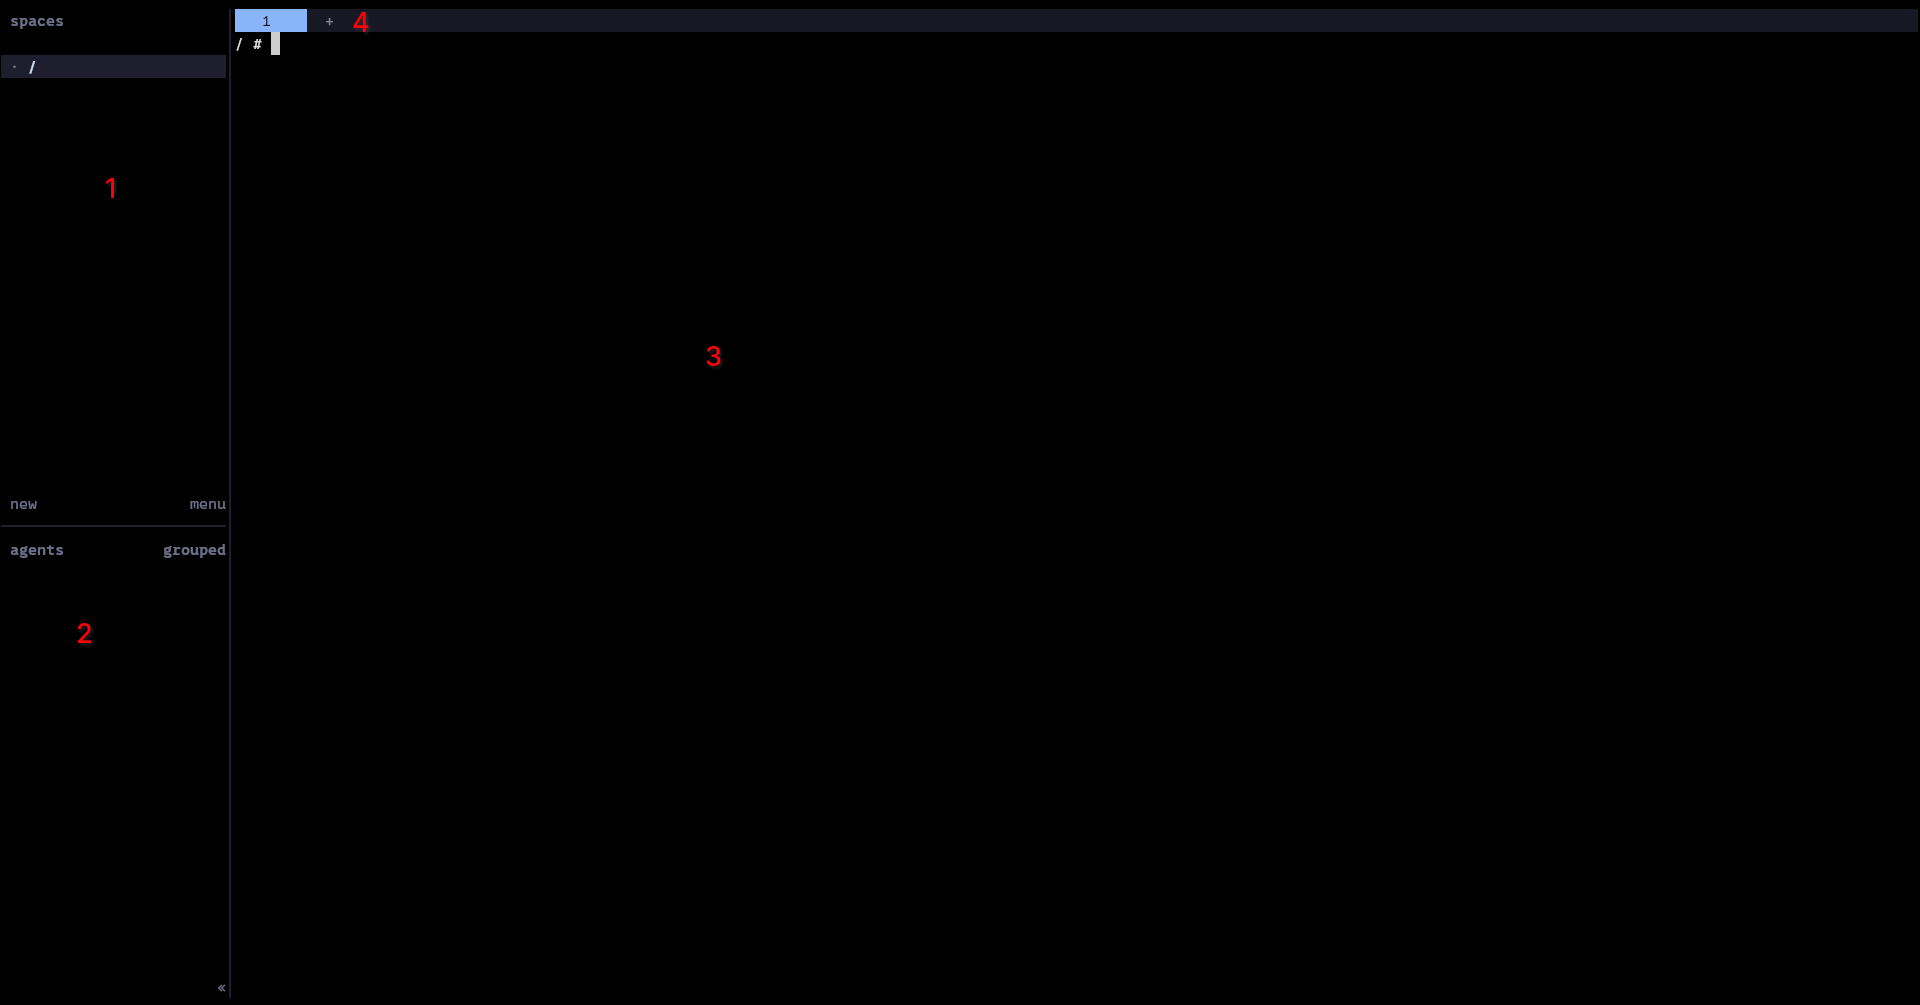
The space is divided into four main parts:
Part 3 - Terminal layout
This is where you will find your different terminals; here you can split them horizontally and vertically and even move from one to another without using your mouse.
Part 4 - tabs
Tabs represent a terminal arrangement. You can have different windows and give them a name. For example, in my daily configuration, I have this tab layout:

Part 1 - spaces
This part lets you create workspaces. Workspaces can be:
- user-defined
- defined by worktree (we will talk about this later)
A workspace is a specific
tabsconfiguration.
Part 2 - AI session
Here, you will find the different AI sessions and their state; we will come back to this later.
In practice
Practice makes perfect, so let’s use Herdr. I am a developer working on the digital library seen earlier.
My (hypothetical) way of working is as follows:
- I develop with AI to assist me, notably using opencode
- I run two development servers to test the project on my machine
- I have a terminal for developing with Neovim (no judgment).
One important thing to know is that Herdr works with commands triggered from the keyboard. The format is always:
<prefix> + <keyboard_key>By default <prefix> is Ctrl+b
AI Agent
The first thing I can do is create a workspace dedicated to my opencode AI.
To do so, I press <Ctrl+b> + c, and a dialog appears:
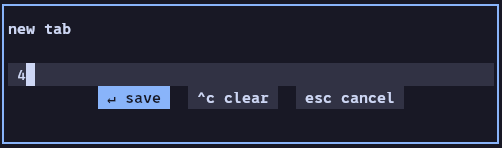
You just need to choose the workspace name:
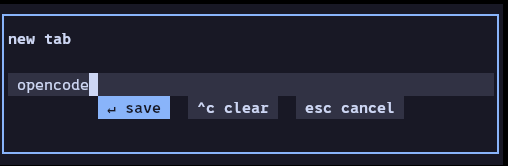
And the new tab appears at the top in the bar. To access it, just click on it.
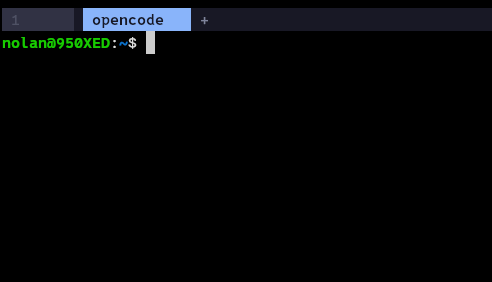
And you can launch opencode, Claude or any other AI agent inside:
opencode .
pi
claude
codex
You will notice that once launched, an “agent” appears at the bottom left of the interface:
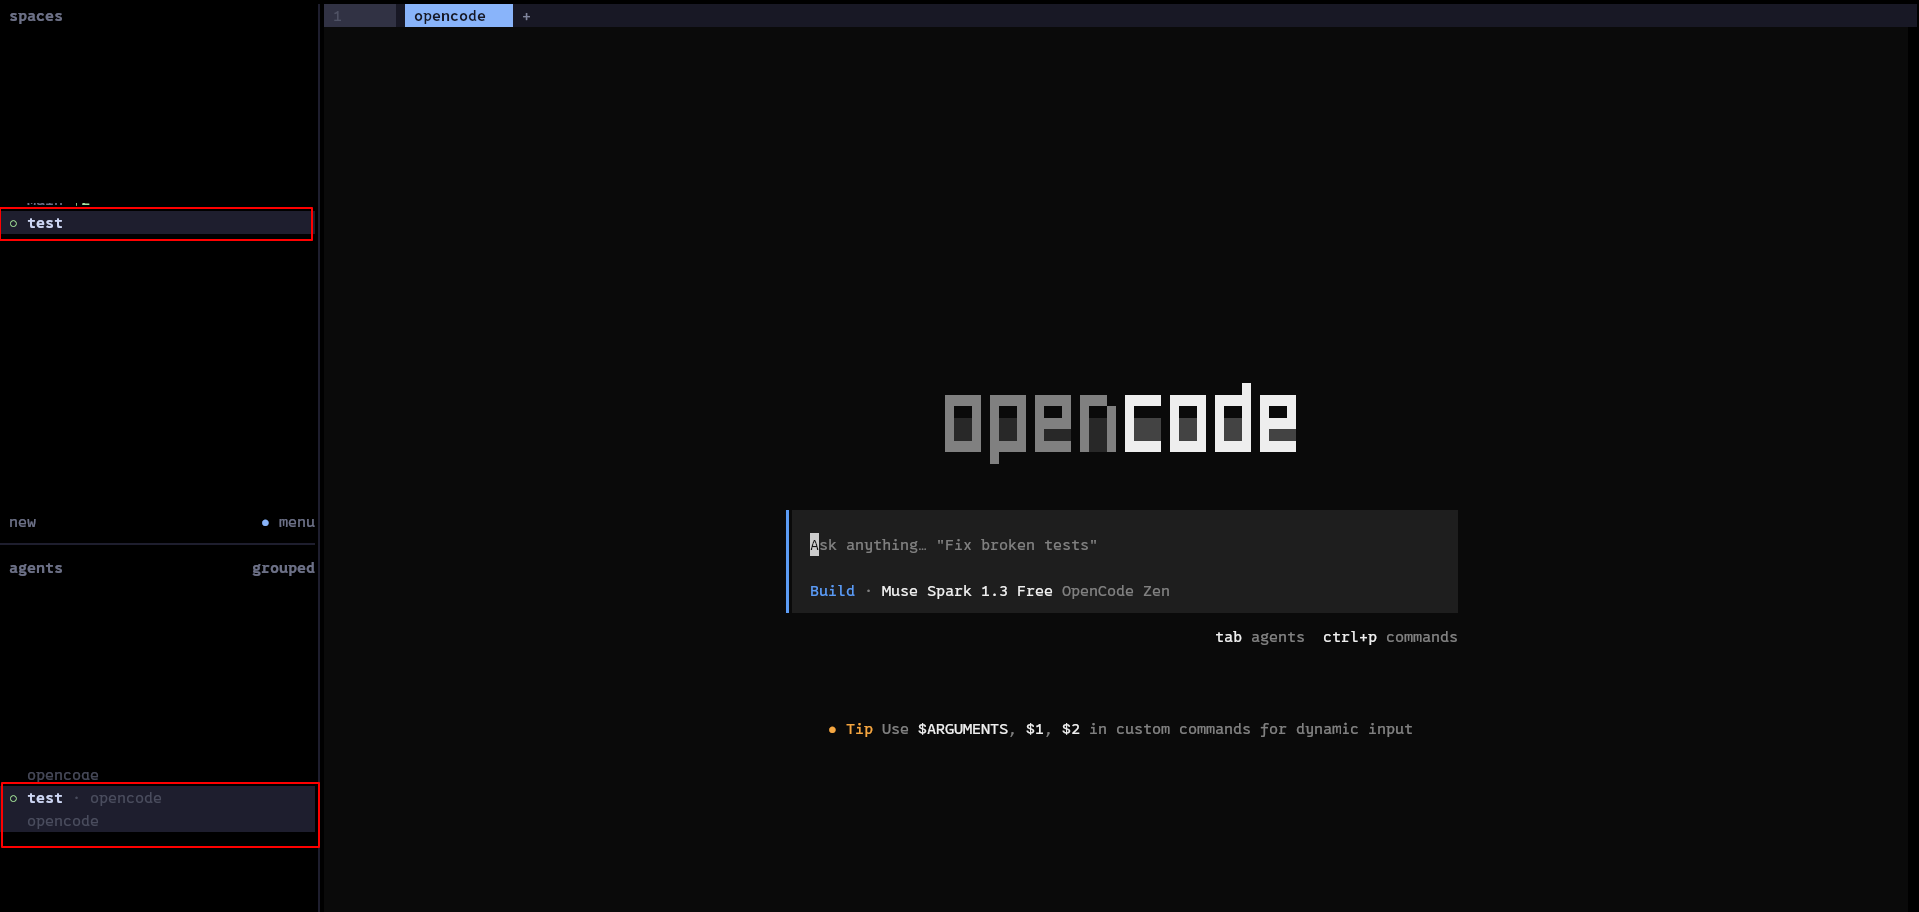
The small dot to the left of the agent’s name indicates its state:
- hollow green dot (current case): the agent is not working
- solid yellow dot: the agent is working
- solid red dot: the agent is stuck and needs human intervention
Why is this useful?
You can see at a glance where the agents are and what state they are in. Right now I am using this feature: I am writing this blog note while waiting for the agent to finish implementing a feature on my SaaS, and I instantly see whether it needs intervention or not. As a result, I waste no time waiting for the agent to finish or leaving the agent idle for long. The strong point is that you can see all these agents at a glance.
Development space
Now, we can create a new space for our development space. Again:
<Ctrl+b> + cI will name it “nvim” and launch nvim inside
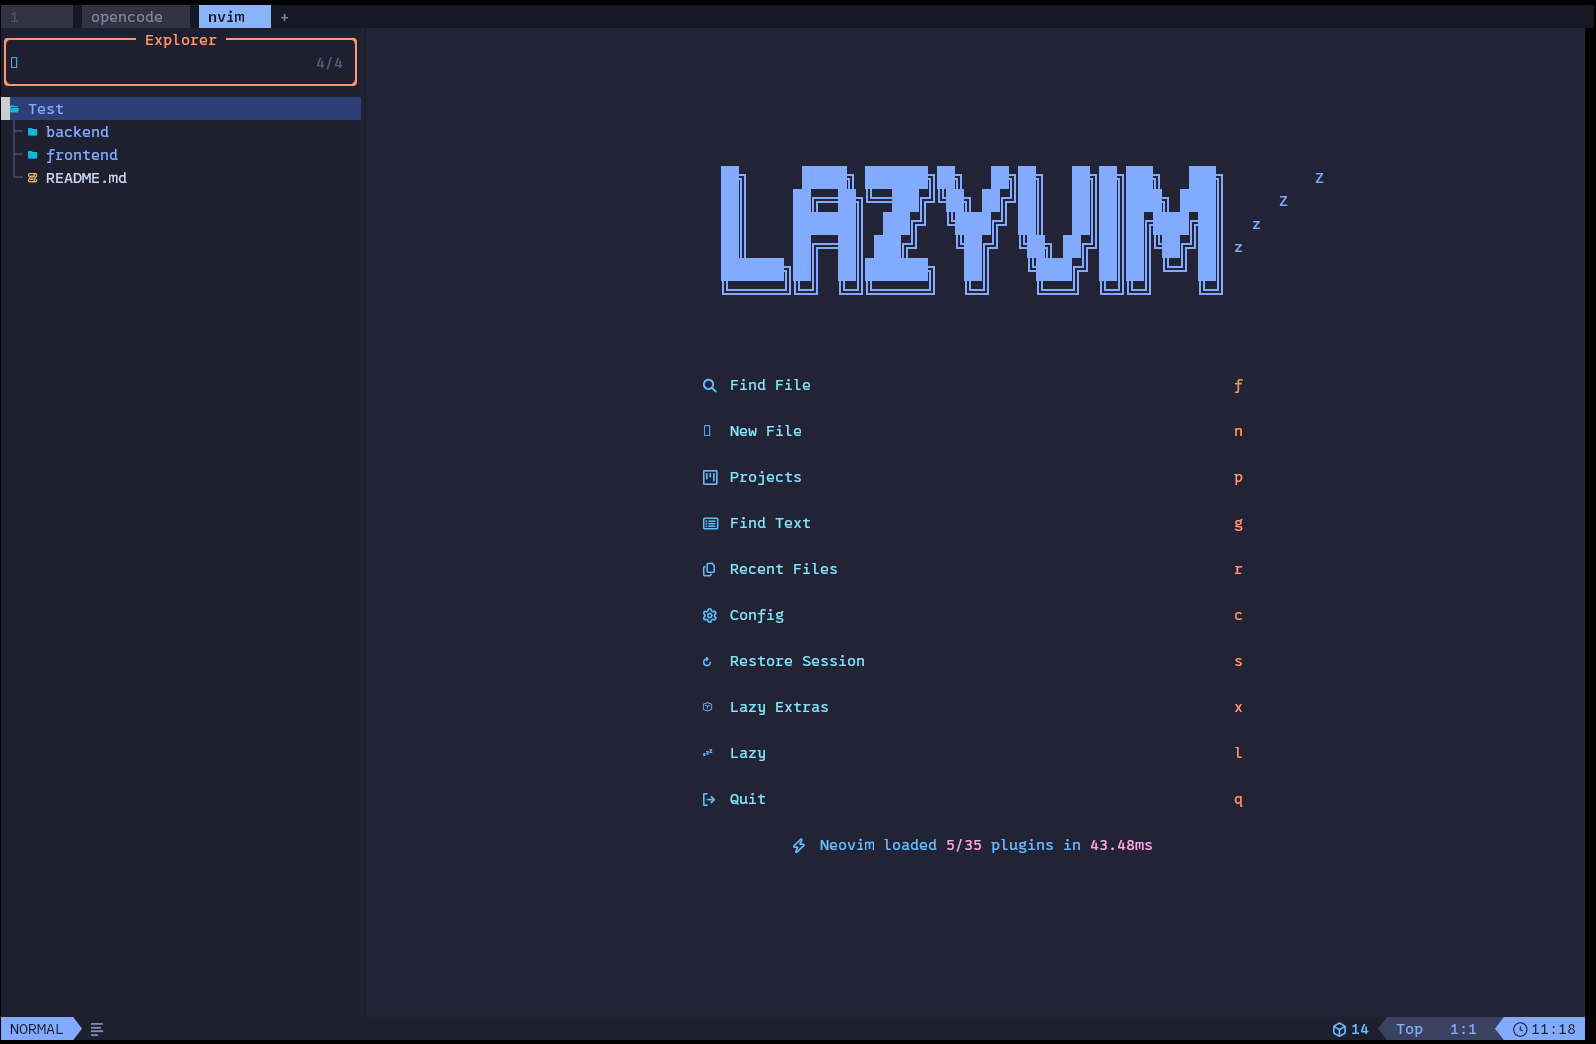
And I can code inside.
Is that all?
Obviously: no. Herdr’s strength lies, just like tmux, in the fact that you don’t need to touch the keyboard if you know the tool well. Unlike tmux, where you have to go to the website to get the commands, Herdr is designed so that if you know what you want to do but don’t know how to do it, you just need to:
- press
<Ctrl + b> + ? - press
? - type what you are looking for,
Close panefor example
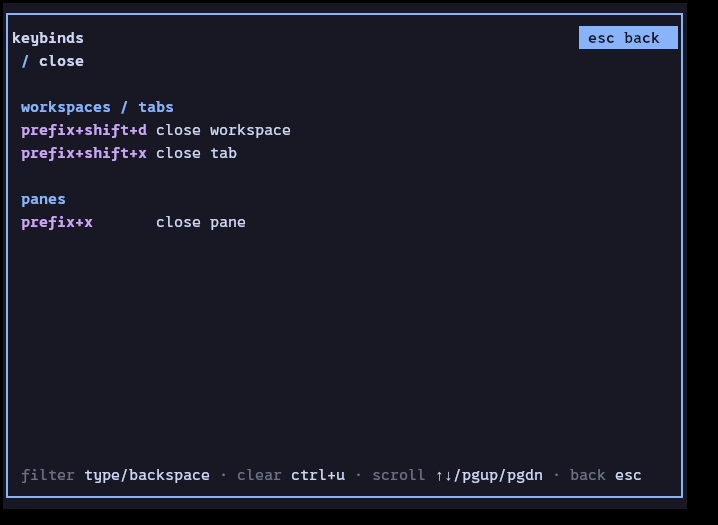
This way, you learn the tool on your own without going back and forth to your web interface.
Git
This is a tool you normally use a lot as a developer. Herdr offers a well-made integration with worktrees.
What is a worktree?
A worktree is a Git branch that is not in the same folder as the current project. It is a feature that became popular with AI agents because it lets several agents work on different features (since they don’t work in the same folder).
For example, in our project, imagine we want to work on a co-authoring feature.
First step, create a worktree:
git worktree add <worktree_folder> -b <branch_name>
Then, press <Ctrl+b> + Shift + n, which creates a new workspace.
And, on the left, in the spaces tab, you should see a new item (in my case, I renamed it hobby because I am writing these lines in my free time)
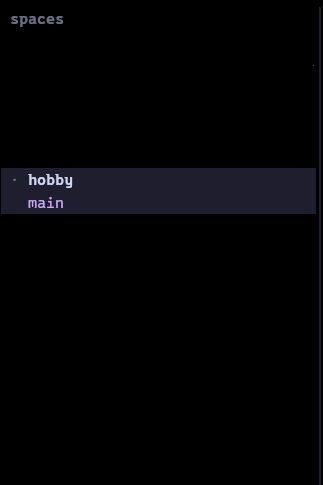
Why are we doing this?
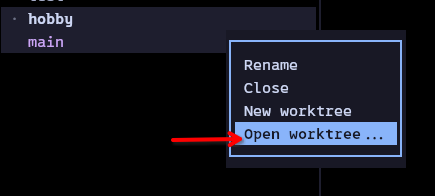
Very good question, and we can answer it right now. What is interesting now is that by right-clicking on this space, you see Open worktree
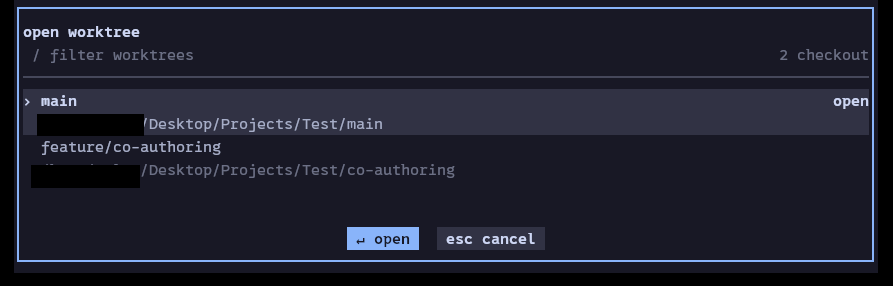
And by clicking on it, you can select our worktree.
And by clicking on the new worktree, you see a new space under main being created.
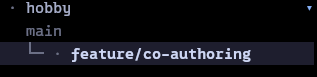
You can see that by clicking on it, a new empty space appears. So you can customize spaces per worktree.
This is great because it lets you customize the workspace per feature. Imagine I am creating a CI pipeline in my project. I can then create a terminal with
docker compose logs -fto see in real time what my CI is doing.
Two seconds later, I go back to the feature/tests_frontend worktree where I can run my Playwright tests in two seconds with up-arrow then Enter (because the terminal belongs to that worktree and only contains that worktree-space’s commands)
Right after, I can go back to the docs worktree and tell the AI agent that the docs it wrote are not great, and ask it to improve some passages.
Conclusion
In this note, we have only scratched the surface of Herdr’s features. I didn’t even talk about its ultra-rich plugin ecosystem, nor the advanced features for AI agents. It is a very useful and versatile tool, especially for DevOps and developers.
If you want to learn more on the subject, I redirect you to the Herdr website itself.
This article has been translated by AI from the french handwritten version.